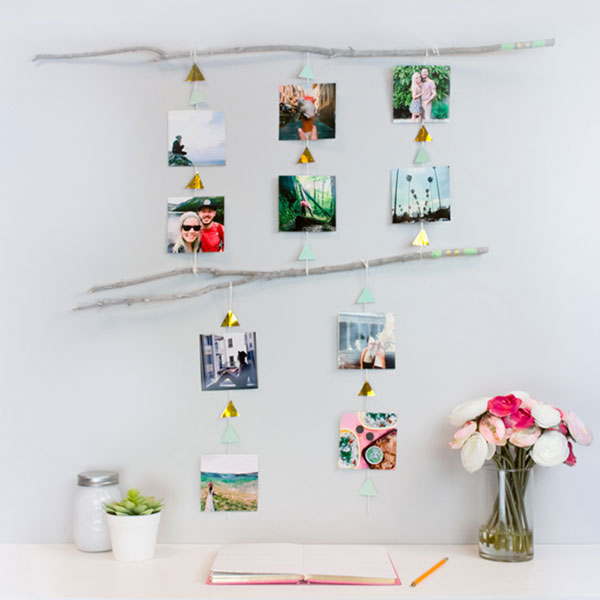
Even with all the excitement on campus, college students can miss the comforts and friendly faces of home. This easy DIY photo mobile can be a sweet reminder of friends and family while adding some cool, shabby chic appeal to their new dorm room. Just follow these steps to make your mobile:
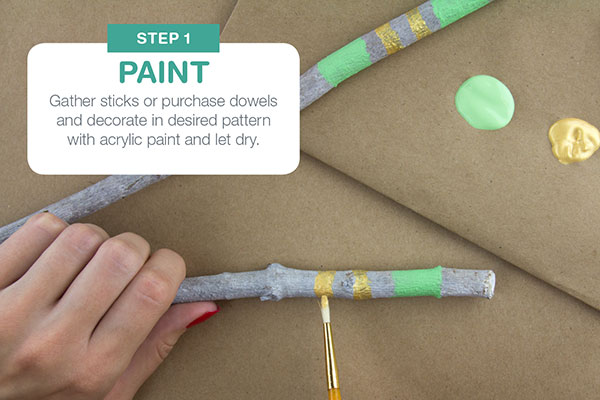
1. Paint your frame
Paint wooden dowels or wood branches with a pattern in your favorite colors. Use acrylic paint for best results. Let the frame dry completely.
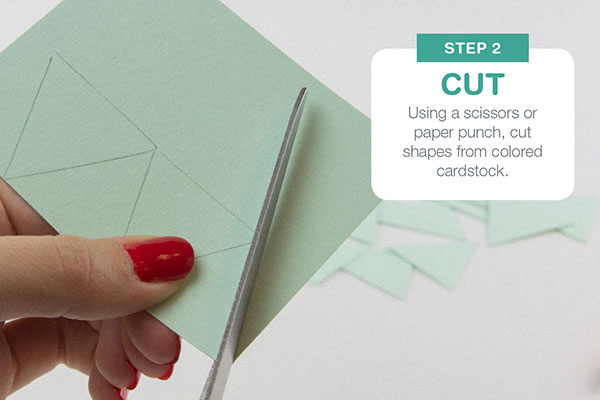
2. Cut your paper
Using scissors or a paper punch, create triangles of cardstock in colors that match your paint.
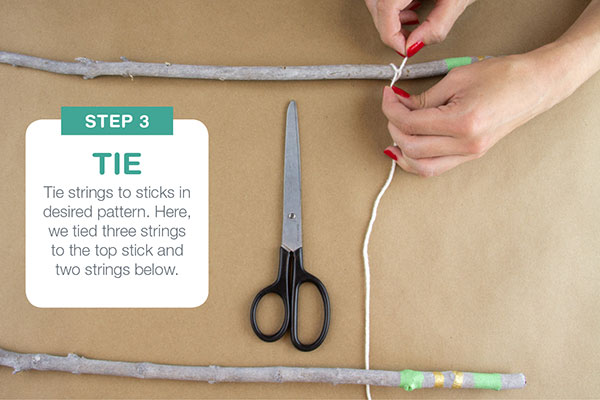
3. Tie string
Tie string or rustic twine to the sticks in a random pattern. You can use three strings tied to the top stick and two to the bottom.
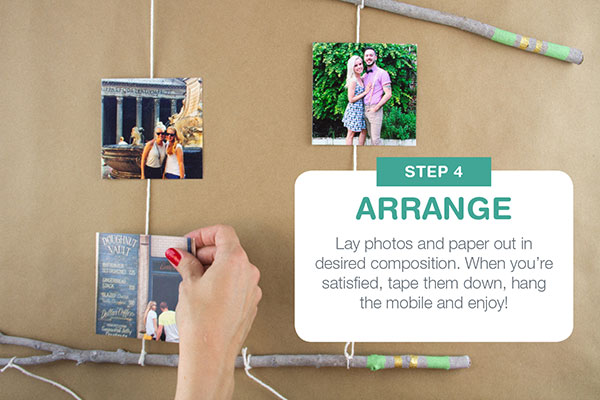
4. Arrange and display
Hang the photos and the triangles on the strings. Use double-sided tape to secure the items. When you’re satisfied with how the design looks, hang the mobile on the wall using hooks.
With the Walgreens Photo mobile app, you can order photos for your project in a flash. Choose the photos you desire and select 4×4 Prints for a cool, geometric effect. We offer FREE Same Day Pickup on Prints, so you can make this project today!


