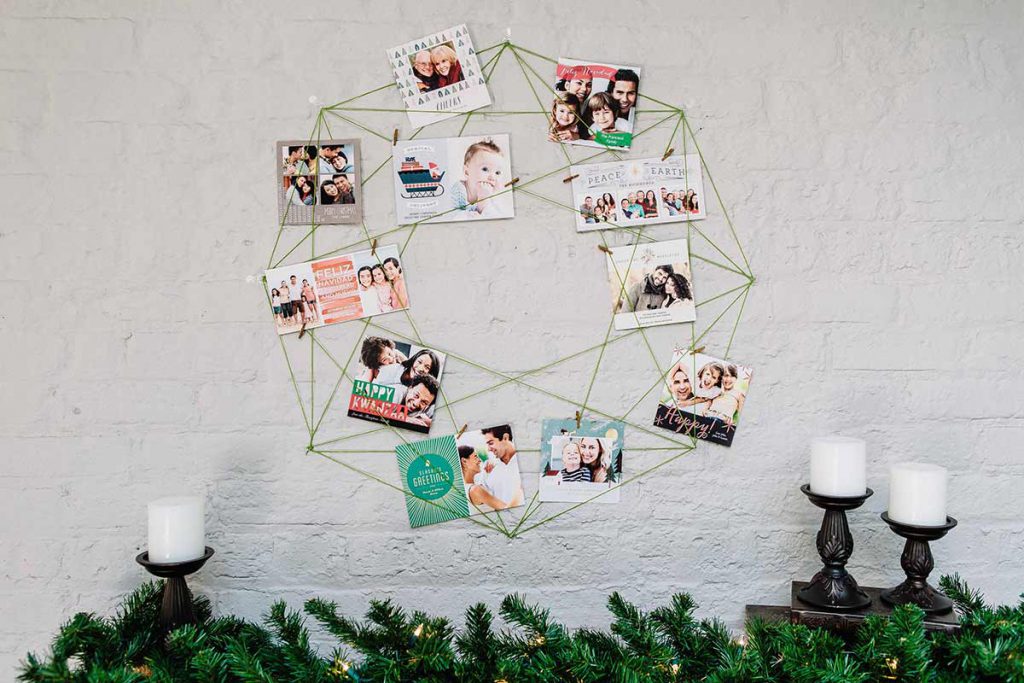
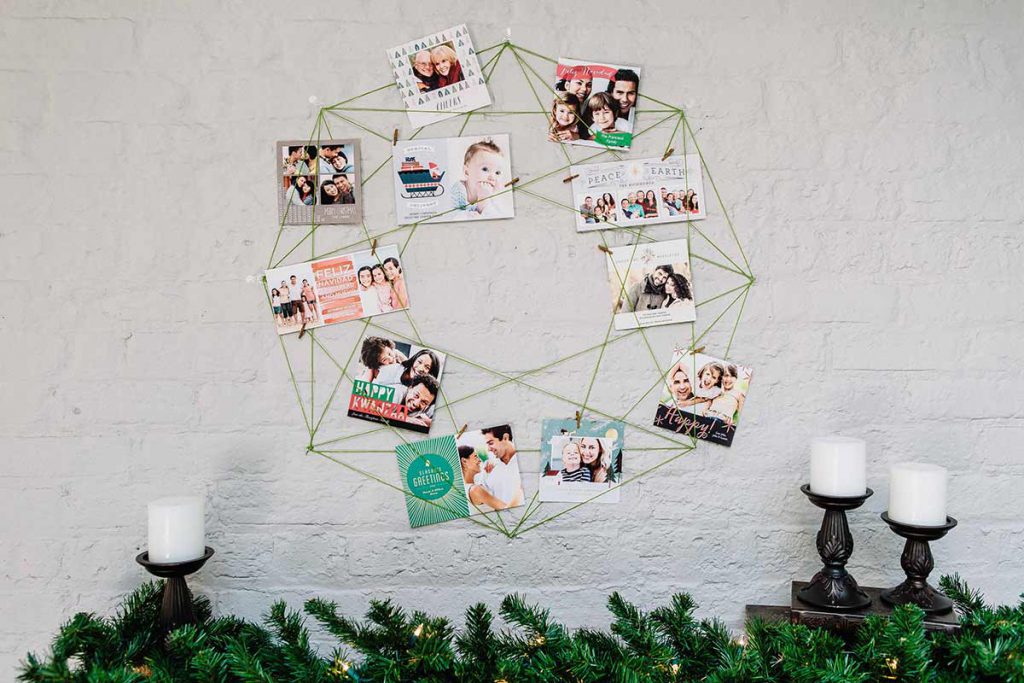
It’s so much fun to open all the Holiday Cards that arrive from friends and family, but what exactly do you do with all those flat and folded greetings once they’ve been read? This card wreath will allow you to put them to good use as a fun decoration for an accent wall. Just follow these steps to create your holiday photo card wreath.
Step 1:
Measure the area where you want to display your card wreath. Determine where the center point is. Mark the spot with a pencil.

Step 2:
Cut a length of string or yarn to half the height of your wreath. Tape one end to the spot that you created in the first step. Tie the other end to your pencil.

Step 3:
Keeping the string taut, make eight marks on the wall. Move in a circle and make the marks equally spaced.
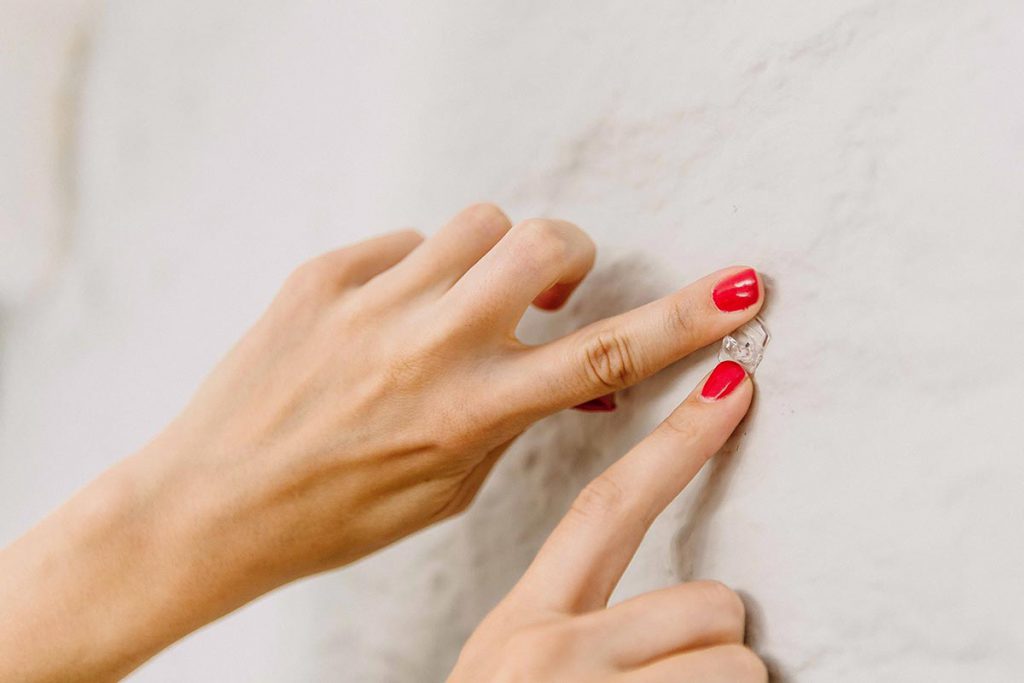
Step 4:
Place a self-adhesive mini Command hook on each of the marks. Position them, so that the hooks are facing out.

Step 5:
Grab a skein of yarn in a festive color and tie the end to the bottom left hook. Then, wrap the yarn around the hooks of your wreath 25 times in the order shown in the image. It’s important to keep the yarn as taut as possible while you work.
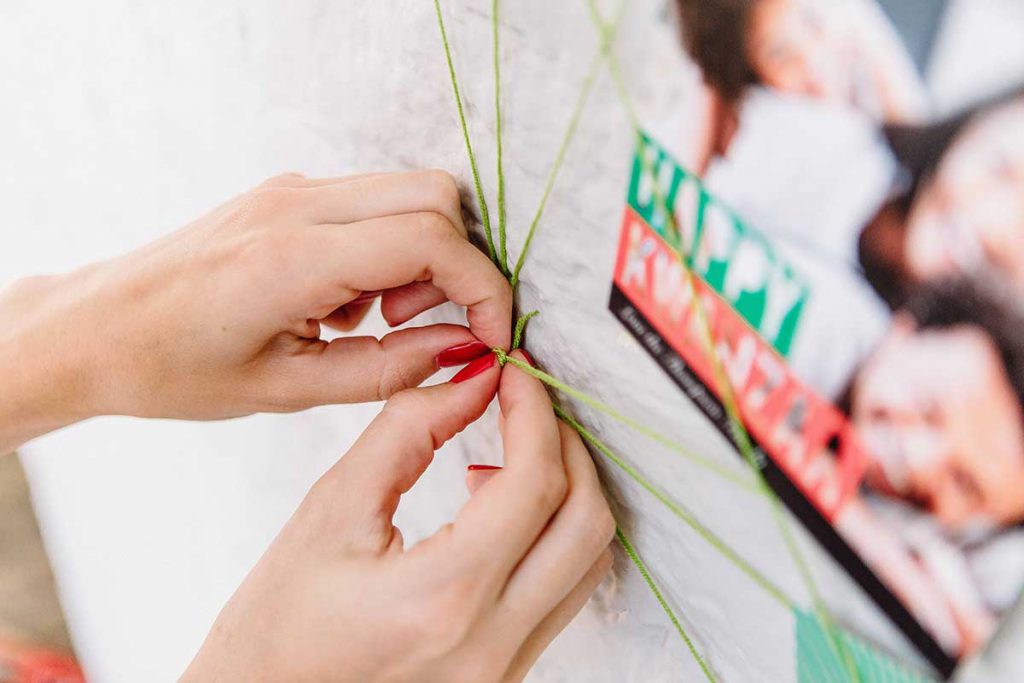
Step 6:
After the final loop around the bottom left hook, cut the yarn and securely tie the end.
Step 7:
Attach cards to the wreath with mini clothespins as they arrive.
Turning holiday cards into a festive decoration for the season is simple with this DIY card wreath tutorial. Make sure to snap a photo before you take the wreath down at the end of the season!

